Recording Techniques: Capturing Instruments and Vocals Effectively

Understanding Microphones: The Heart of Recording
Microphones are the first step to capturing sound, and choosing the right type is crucial. Dynamic microphones are great for loud instruments like drums, while condenser mics excel at picking up the nuances of vocals and softer sounds. The pick-up pattern of a microphone, whether it's cardioid, omnidirectional, or figure-8, also plays a significant role in how sound is captured and how background noise is managed.
The microphone is the first step in the recording chain; it captures sound and shapes the way we hear it.
For instance, if you're recording a solo singer, using a cardioid microphone will help isolate their voice from any ambient noise in the room. On the other hand, if you're recording a choir or a group of instruments, an omnidirectional mic can capture sound from all directions, creating a fuller picture. Understanding these basics will help you make informed decisions when setting up your recording session.
Related Resource
In essence, the right microphone choice can drastically affect the quality of your recordings. It’s worth investing time to experiment with different types and placements to discover what works best for your specific needs.
Placement Matters: Positioning Your Microphones
Microphone placement can make or break your recording quality. The distance between the mic and the sound source can dramatically alter the tone and clarity of the recording. For example, placing a vocal mic too close can lead to unwanted proximity effect, where low frequencies become exaggerated, while too far away might result in a thin sound.
Experimenting with different angles and distances can yield surprising results. A general rule of thumb is to start with the mic about six inches away from the source and adjust based on the sound you're capturing. Don't hesitate to move around the room to find the sweet spot where the sound is most balanced and natural.
Choose the Right Microphone
Selecting the appropriate microphone type and pick-up pattern is essential for capturing high-quality sound.
Remember, every instrument has its own quirks. For instance, a guitar might sound rich and full when mic'd close to the sound hole, while a piano can benefit from mics placed above the hammers. Taking the time to find the right placement will enhance the overall quality of your recordings.
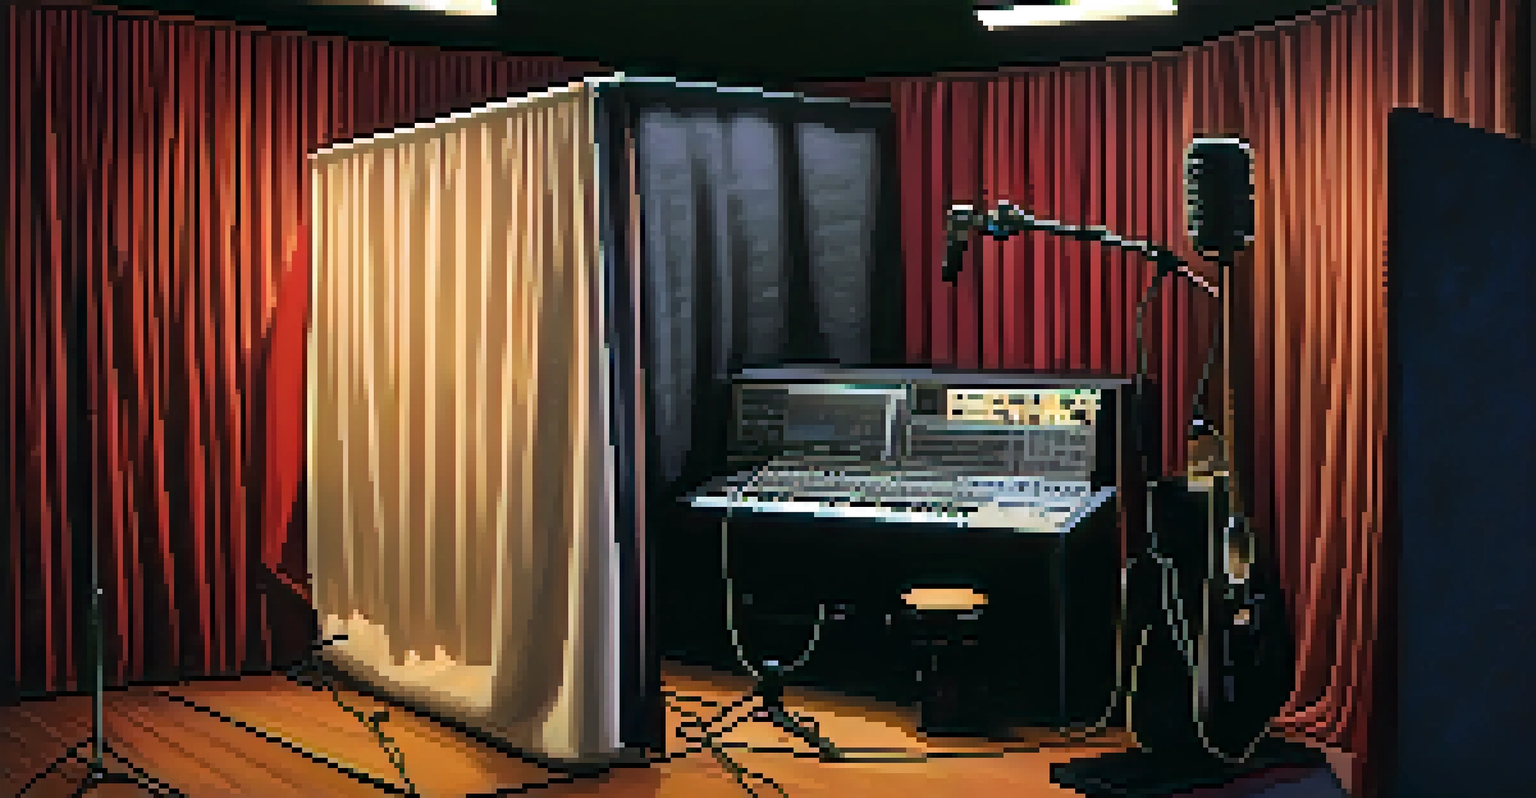
Room Acoustics: Creating the Right Environment
The recording environment plays a pivotal role in sound quality. A room with hard surfaces can create unwanted reflections and echoes, muddying your recordings. To combat this, consider using acoustic treatment like foam panels, carpets, or curtains to absorb sound and reduce reverberation.
Recording is not just about capturing sound; it's about capturing emotion and creating an experience.
If your recording space has a lot of natural light and minimal interference, the results will often be more pleasing. Experimenting with different spaces in your home or studio can also lead to interesting outcomes. Sometimes, an unconventional space can create a unique sound that adds character to your recordings.
Related Resource
Ultimately, the goal is to create a controlled environment that allows your instruments and vocals to shine. Paying attention to room acoustics will enhance clarity and depth, making your recordings more professional and polished.
Recording Techniques for Instruments: Tips and Tricks
Each instrument requires a specific approach to recording. For example, when mic'ing a drum kit, it’s essential to consider the balance between the kick, snare, and cymbals. Using multiple mics allows you to capture each component clearly, but be mindful of phase issues that can arise from mic placement.
Similarly, when recording guitars, consider using a combination of close and ambient mics to capture both the direct sound and the room's character. This layered approach can add richness and depth to your recordings. For strings and brass, experimenting with mic placement can capture their unique tonal qualities beautifully.
Optimize Microphone Placement
Proper positioning and distance from the sound source can dramatically enhance the clarity and tone of your recordings.
In short, the key is to adapt your recording techniques to suit each instrument’s characteristics. By doing so, you ensure that the final mix is balanced and engaging, drawing listeners into the sound.
Capturing Vocals: Techniques for Clarity and Emotion
Recording vocals presents its own set of challenges and opportunities. To achieve clarity, start by ensuring the vocalist is comfortable and relaxed; this significantly impacts their performance. A well-placed pop filter can help reduce plosive sounds while keeping the mic at a reasonable distance enhances the overall tone.
Additionally, consider using a vocal booth or isolating the singer from any background noise. If a booth isn’t available, creating a makeshift one with blankets or foam can work wonders. This setup minimizes outside interference and allows the vocalist's voice to take center stage in the mix.
Related Resource
Finally, don't shy away from experimenting with vocal effects during the recording process. Adding reverb or delay can enhance emotional delivery and create a lush sound. These techniques help transform a good vocal performance into a captivating one that resonates with listeners.
Editing and Mixing: Final Touches for a Polished Sound
Once you've captured your instruments and vocals, the editing and mixing process comes into play. This step is where you refine your recordings, ensuring everything sits well together. Start by cleaning up any unwanted noise or mistakes to create a more polished track.
Next, balancing levels and panning instruments can create a cohesive soundstage. For example, panning guitars slightly to one side while keeping the vocals centered can provide clarity and make the mix more engaging. Don’t forget about EQ; it’s essential for carving out space for each element in your mix.
Edit for a Polished Finish
The editing and mixing process is crucial for refining your recordings and ensuring that every element shines through.
Finally, adding compression can help maintain a consistent volume and bring out the dynamics of the performance. Remember, mixing is an art, and your aim should be to enhance the natural qualities of the recordings while ensuring every instrument and vocal shines through.
Final Thoughts: The Art of Recording
Recording music is an intricate art that combines technical knowledge with a creative vision. By understanding your equipment and the nuances of sound, you can capture the essence of your music beautifully. Each recording session is an opportunity to experiment and learn, allowing you to refine your skills over time.
Keep in mind that recording is not just about achieving perfection; it's about capturing the emotion and energy of a performance. Every artist has a unique sound, and your job as a recording engineer is to highlight that individuality. Embrace the challenges and celebrate the small victories along the way.
Ultimately, the more you practice and explore different techniques, the more confident you'll become. So grab your microphone, set up your instruments, and start recording — your musical journey awaits!